Home Assistant Secure Access With Cloudflare Warp
Contents
Contents
Inspired by Cloudflare CTO - John Graham-Cumming cool post decided switch my OpenVpn server to provide secure access my Home Assistant , Raspberry Pi based installation in a serverless way. Finally I found some spare time, so let’s dig around of it!
A few words of introduction. I’am quite fun of home automation, there is plenty cool (and cheap) devices, which are very helpful daily, like remote switches, leak sensors etc. On the other hand, I’am not big fun of “all in a cloud” home automation - simply that is why:

GCP outage
In case of home automation, I prefer rather conservative approach - local installation which will be available even without internet access with optional ability to access it remote.
1 My current setup
My current setup looks quite simple, I have Home Assistant Docker based installation on my Raspberry Pi, with ZigBee dongle working under zigbee2mqtt control and couple of zigbee based devices. The most pain in this setup is remote access, because my internet access is provided by LTE. It means that I have no static IP address, so must host and manage VM in a cloud, with OpenVPN server which provides me secure remote access to my home-automation environment for end devices (phone, notebook).
The most uncomfortable in that setup is VM in a cloud, I have to manage it, and I do not want to : ), so what alternatives ?
Meet Cloudflare for Teams (with Cloudflare Tunnel and WARP)
2 What we need
To set up secure remote access to our home environment we need to connect together some cloudflare services:
- Cloudflare for Teams - suite which provides some cool security features, for our case it enables us to create VPN based on Cloudfare network. But this is much powerful product.
- Cloudflare Tunnel - a service which enables to create secure tunnel from our home network to edge location of Cloudflare network.
- Cloudflare WARP - an application which, enables to connect our end device (notebook, phone) to the Cloudflare for Teams
So let’s configure our VPN as a service : )
3 Setup Cloudflare for Teams
First we need to create our account for Cloudflare for Teams , there is good, step-by-step tutorial . Most important, which is good to notice - we need to choose our team name, this must be unique globally in cloudflareaccess.com domain as follow:
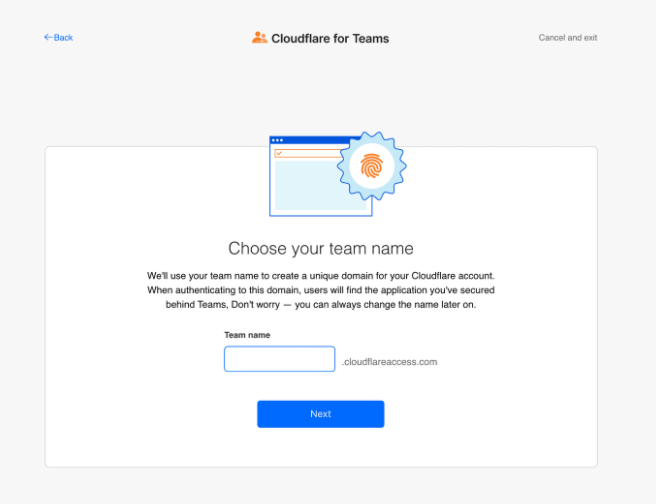
Choose team name
Second, to be able to use Cloudflare for Teams, we need to provide details of our credit cards, BUT
Note
so be sure to choose Teams Free plan type :).
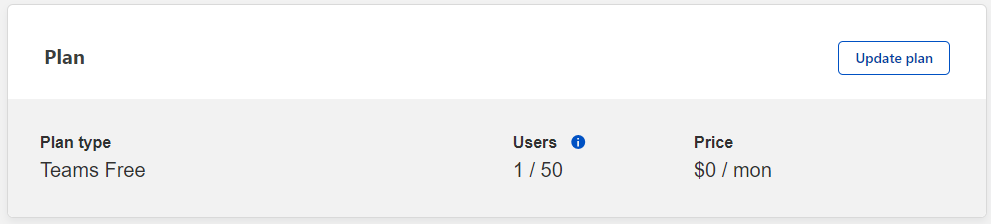
Teams Free plan
3 Setup Cloudflare Gateway
If our Teams account is ready, we can continue. By default, Cloudflare deny route traffic via tunnel for private address spaces (RFC 191), and probably you use one this ranges in our homes, as in my case. To change this behaviour we need to create Cloudflare Gateway to overwrite this setting. Go to GATEWAY->Location sub-menu and create one:
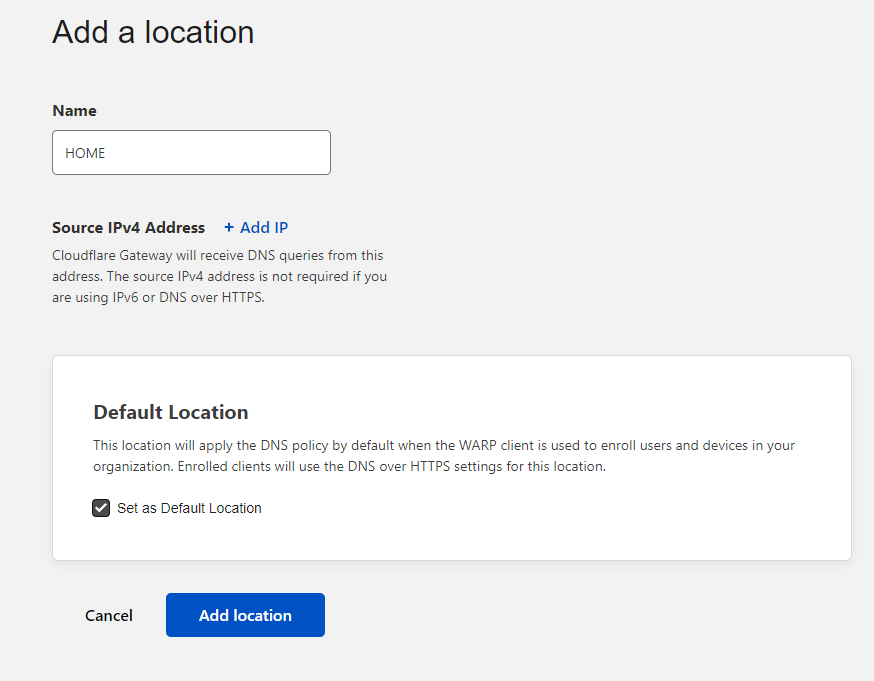
Create Cloudflare Gateway
Now, go to Gateway->Policies->Settings, scroll down and click Manage Split Tunnels, find subnet which covers your home, local subnet and delete it :), this enable Cloudflare to route packet to this private subnet via tunnel later on.

Modify routing
Note
4 Setup Device Enrolment policy
Last thing which we have to change is Device Enrolment policy, which enable certain user to be able to add devices with WARP app, to our Team. Add your email in the configure a rule:
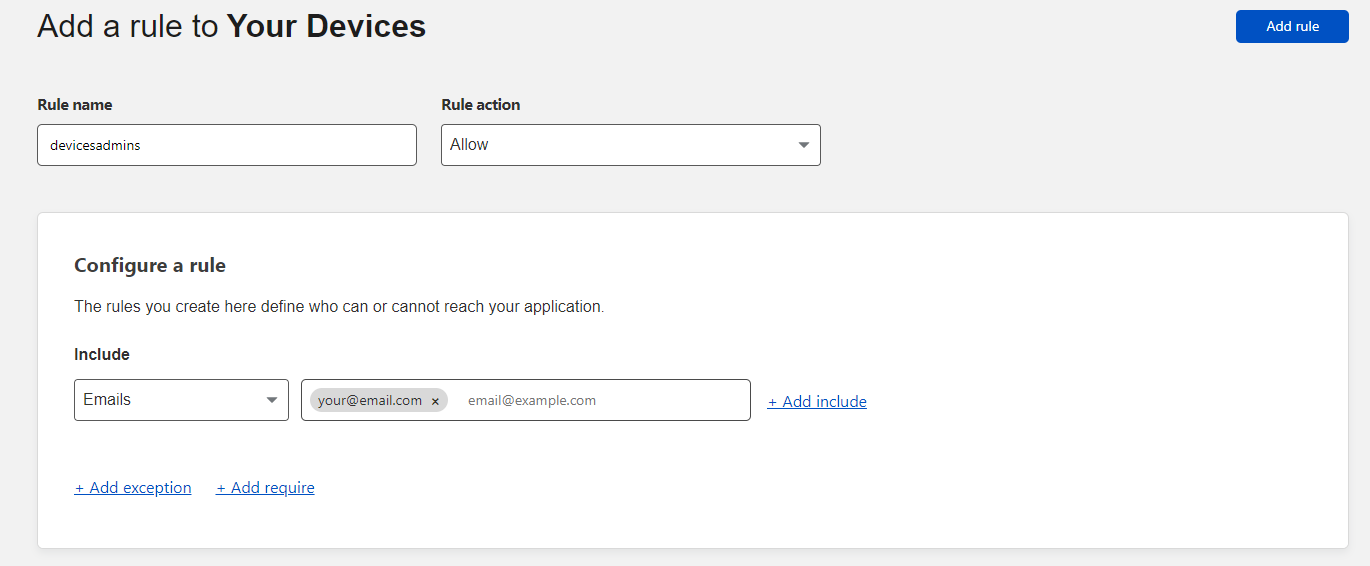
Add your email
Cloudflare for Teams is ready to use, time to configure cloudflared.
5 Setup cloudflared
To be able connect to our home network from the internet, first we need to set up tunnel from Raspberry Pi to the Cloudflare edge location. Tunnels are created with cloudflared - small daemon which manage connection to multiple Cloudflare data center.
First, we need to install it, generally we just need to download and run it, to be precise.
|
|
Next, we need to authenticate our instance to Cloudflare account we own.
|
|
Because we run cloudflared in console, we need to copy provided URL, and paste it into web browser, after log in, we need to choose domain we own to use.
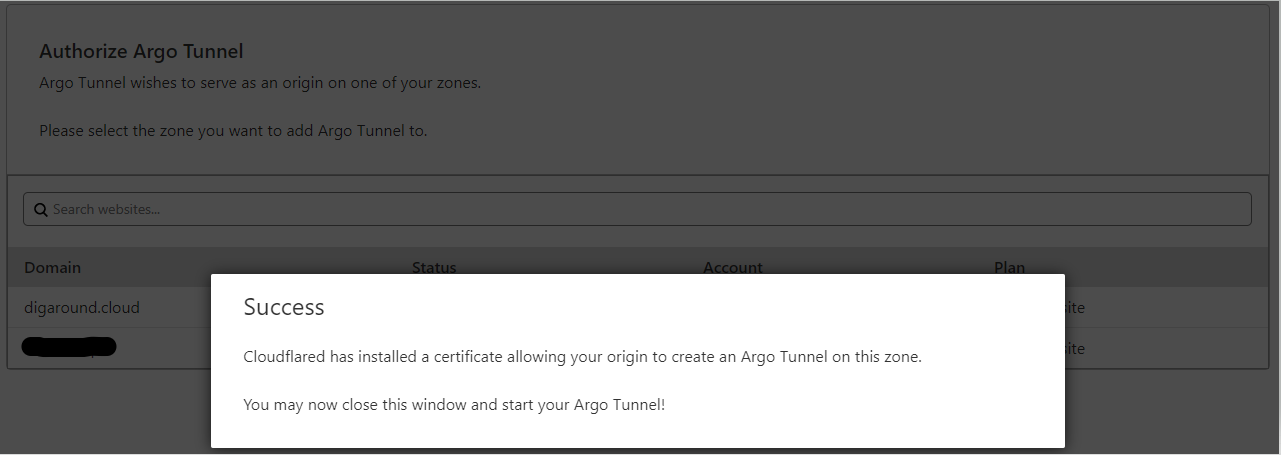
Teams Free plan
If authentication was successful, we will see on the terminal, that cloudflared downloaded certificate which will be used for authenticate tunnel connection to the Cloudflare data center.
|
|
Time to create our tunnel, create it just by typing cloudflare tunnel create <tunel-name>, you will get unique tunnel ID in return, which will be needed later on:
|
|
If there is need to list created tunnels and its ID, just type in cloudflared tunnel list
|
|
We reach to the most important part in this section. To be able route packet through tunnel for private network ranges we need:
- First, create Cloudflare Gateway and modify policies - which we have done already
- Second, add routing for our home, private network range, which we will do it now
Note
Example below, tels Cloudflare that if you see packet from 192.168.XX.0/24 network, route them through tunnel ID 32c82dc7-2a21-4ae9-9f12-XXXXXXXXXXXX.
|
|
To check, which routes was defined, just type ‘cloudflared tunnel route ip show’
|
|
Last step, which need to be done on the Raspberry Pi is create config file, where we gather all needed configuration to run the cloudflared tunnel.
To establish tunnel, we need to pass tunnel ID, which cloudflared should run and credentials to it - we got it before, while creating tunnel above.
Do not forget, to add warp-routing section, it is super important, it enable us connect from WARP application on the end device to our Raspberry Pi via tunnel.
|
|
Time to run it!
|
|
6 Setup WARP
Final step to complete. We need to install WARP application on our devices, which enable them to connect to our home network, in my case notebook.
Process is super simple, download it , run, next..next..next…done.
Time to configure :), to be honest all configuration was done before, we just need to connect our application to Cloudflare for Teams.
Note
Open app, go to Preferences->Account and click Login with Cloudflare for Teams
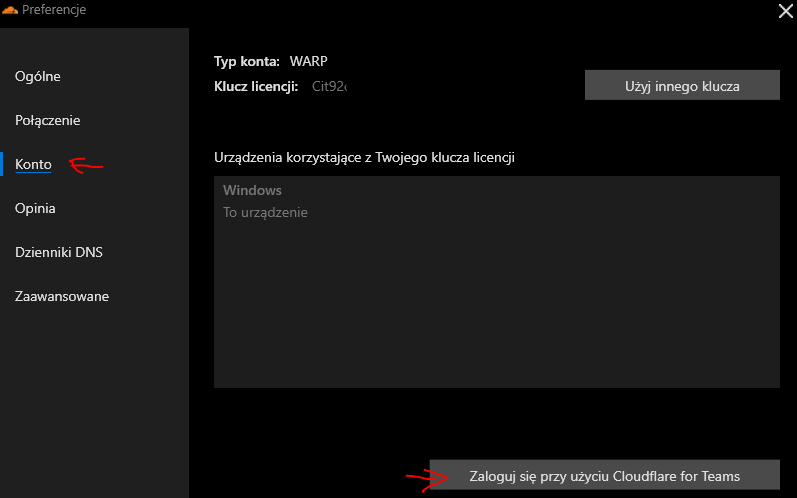
Login to Cloudflare for Teams
Then, type in Team name, you choose in first step:
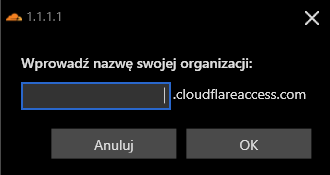
Give your Team name
Now you have to enter your email address, which you provided as email which is authorized to enroll devices, a few steps before

Type in email address
You will receive access code on that email, retype it in the window:
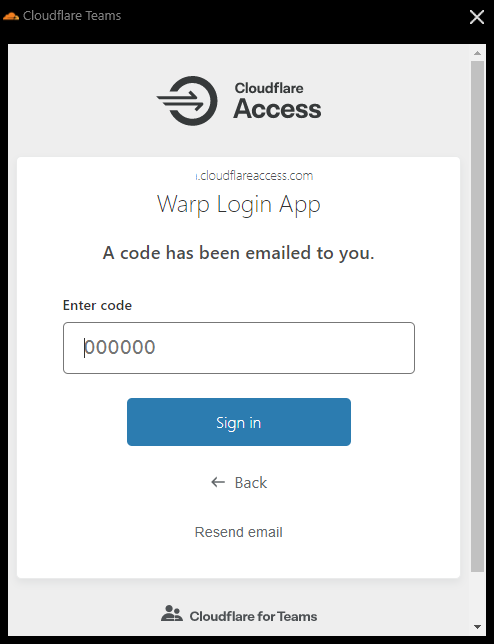
Give the access code
After that your WARP app is connected to your Cloudflare for Teams
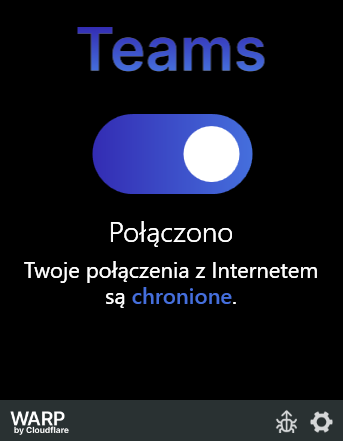
WARP is connected!
cloudflared is running on our Raspberry Pi, so we should be able to connect to our Home Assistant installation:
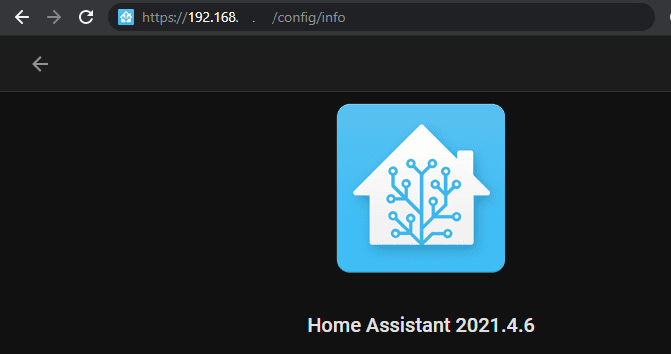
Connect to Home Assistant!
7 Final
As you can see, Cloudflare just run a super cool product, which can make our lives - Home Assistant users - more easier.
But, there is one BUT:
Note
so, all of this will not work on mobile version of WARP app, but fear not, it is on the roadmap - as I found on the community forum of Cloudflare.
THANK YOU CLOUDFLARE! anyway, waiting for private network routing feature on mobile to take full pleasure with serverless, Home Assistant secure access with HA mobile app :)